Connect your first bucket
Connect your storage account to quickS3, check that it can reach your buckets, and open your first one. About five minutes with a key in hand.
This guide is for whoever sets quickS3 up. When you’re done, quickS3 is connected to your storage account and your buckets show up on Overview. If you already have an access key, it takes about five minutes.
Before you start
First, you need to be an Owner. Signing up creates an organisation for you, named after your email address, and makes you its Owner. The organisation switcher at the top right shows your role next to each organisation you belong to.
Second, you need an access key from your storage provider. Make a new key just for quickS3 rather than reusing one from another app. It has to be able to list and read buckets, and to write if your team will upload. quickS3 keeps this key (encrypted) and uses it on your team’s behalf, so limit it to the buckets your team actually needs.
The provider guides show where to create the key and what to fill in: AWS S3, Cloudflare R2, Backblaze B2, DigitalOcean Spaces, Wasabi, Google Cloud Storage, Azure Blob Storage, and MinIO.
1. Add the connection
- Open Connections and select New connection.
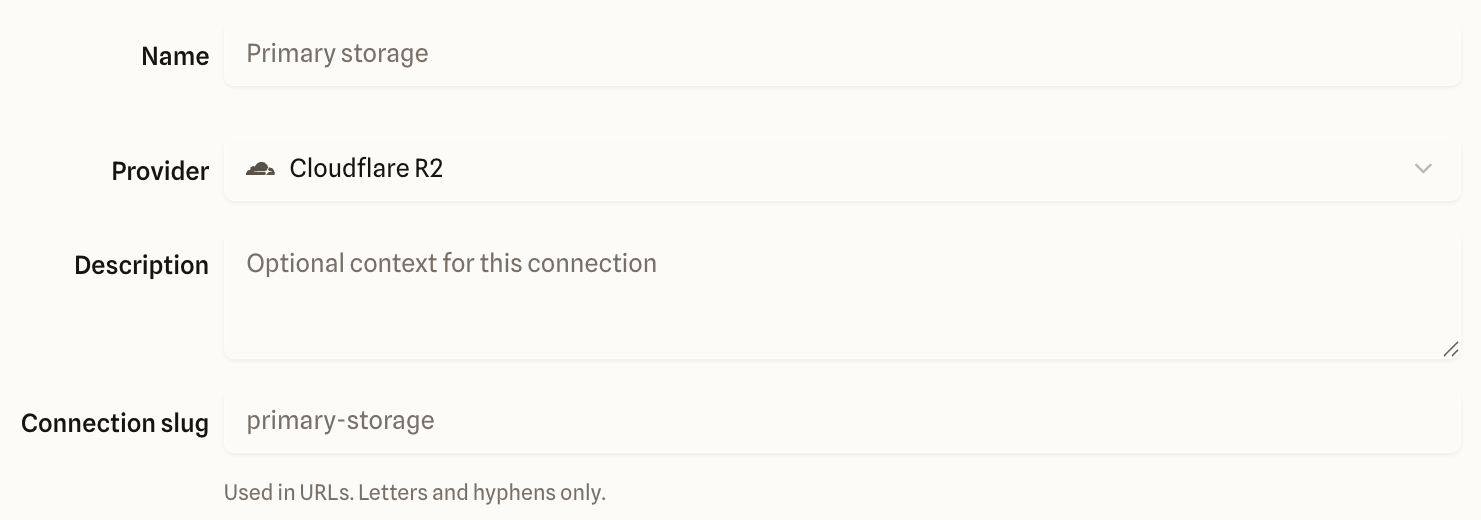
- Enter a Name your team will recognise, like “Marketing assets”, and pick your Provider.
- Fill in the fields for your provider, such as the region or account ID, then paste the access key and secret. You can leave Connection slug empty. quickS3 makes one from the name.
- Scroll to the three settings at the bottom of the form. Keep the defaults: CORS updates on, backend upload fallback off, and no additional upload size limit.
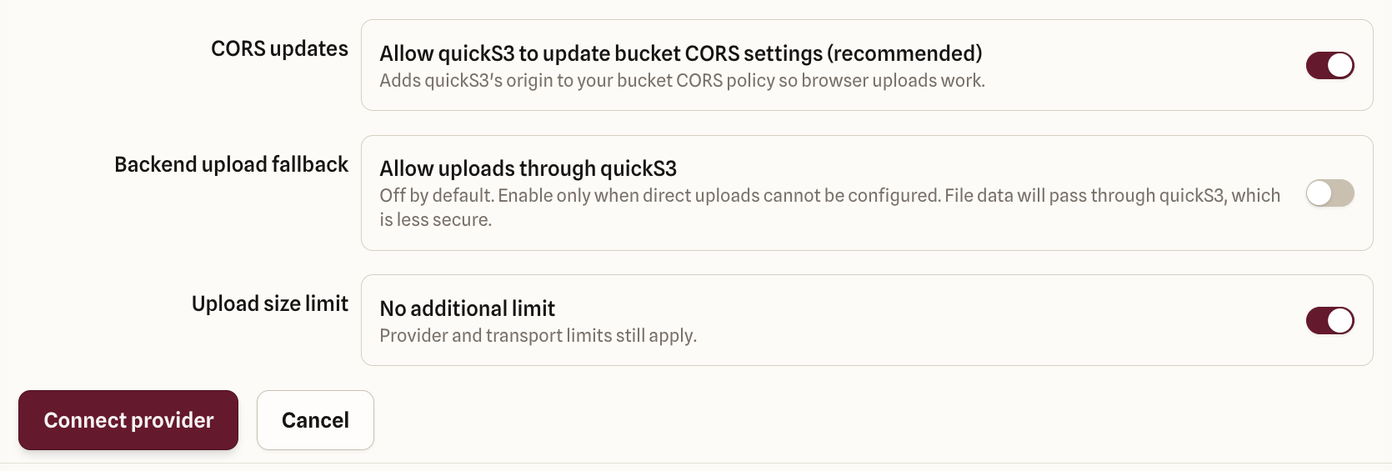
- Select Connect provider.
After you save, nobody can read the secret back, including you. To change the key later, edit the connection and type the new one. If you leave the key fields blank while editing, quickS3 keeps the current key.
2. Test the connection
The new connection now appears in the list. Select Test connection on it. After a few seconds you should see this:
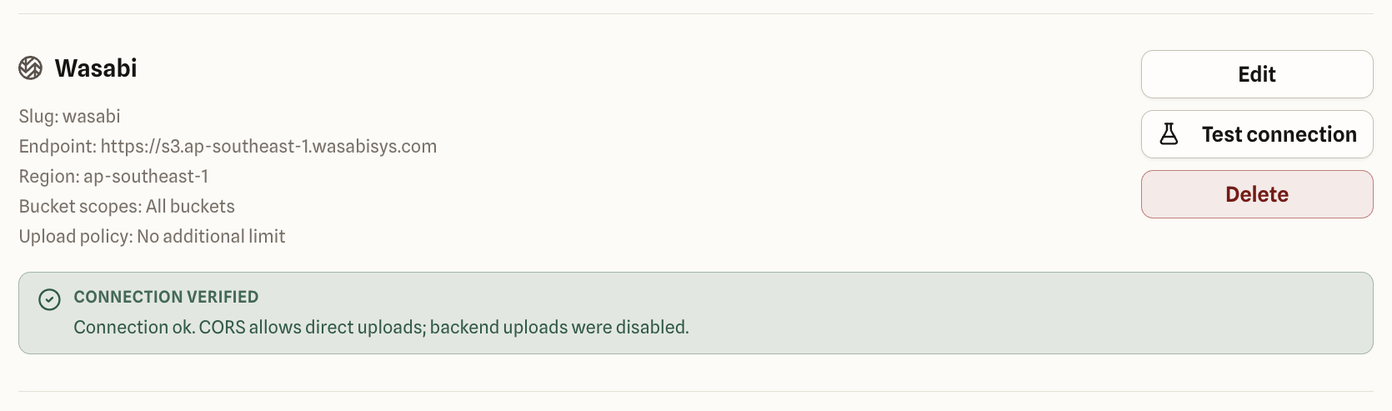
What the result means:
- Connection verified (green): quickS3 signed in and listed your buckets. The CORS part of the message confirms that browsers can upload straight to the bucket, so quickS3 turns the backend upload fallback off because it isn’t needed.
- Connection verified with warning (amber): the key works, but CORS blocks browser uploads for now. Browsing and downloading will work. See browser uploads and CORS to fix uploads.
- Connection check failed (red): quickS3 couldn’t connect. The message usually points at the cause, like a wrong key or a region that doesn’t match. Test and troubleshoot a connection lists the common ones.
3. Open a bucket
Go to Overview. Each connection has a card with its buckets (Azure calls them containers). Select one to start browsing.

If the card says there are no buckets, your key probably isn’t allowed to list them. That’s normal for keys limited to specific buckets. Edit the connection and type the bucket names into Bucket scopes, separated by commas.
Next: give your team access
As the Owner, you can open every bucket on every connection. Nobody else can until you give them a role, and that includes Admins.
- Create a role that says which buckets or folders people can read or write.
- Invite people and give them that role.
The Admin quickstart walks through both.