
Connect Claude Code to your S3 buckets with quickS3
Add the quickS3 plugin to Claude and Claude Code, choose which roles it may use, and let your AI agent browse, upload, and download files in your S3 buckets.
quickS3 is also a remote S3 MCP server, so Claude can work with the files in your S3-compatible buckets: list folders, fetch a file, or upload something it just produced. It only gets the quickS3 roles you pick when you approve it. File contents travel directly between Claude and your storage provider, and quickS3 never sees them.
This guide covers two places you might use Claude:
- The Claude desktop app, set up through Customize.
- Claude Code in the terminal, set up with
/pluginand/mcp.
Each one gets its own approval, so you can give them different roles or lifetimes.
Before you start
You need:
- A quickS3 organization with at least one storage connection. If you don’t have one yet, follow the guide for your provider, e.g. AWS S3 or Cloudflare R2.
- A role for the agent. Claude can do exactly what the role allows and nothing more, so a dedicated role is the easy way to keep it narrow. In this guide we use a role called AI Agent that can read and write two buckets.
Part 1: The Claude desktop app
Step 1: Add the quickS3 marketplace
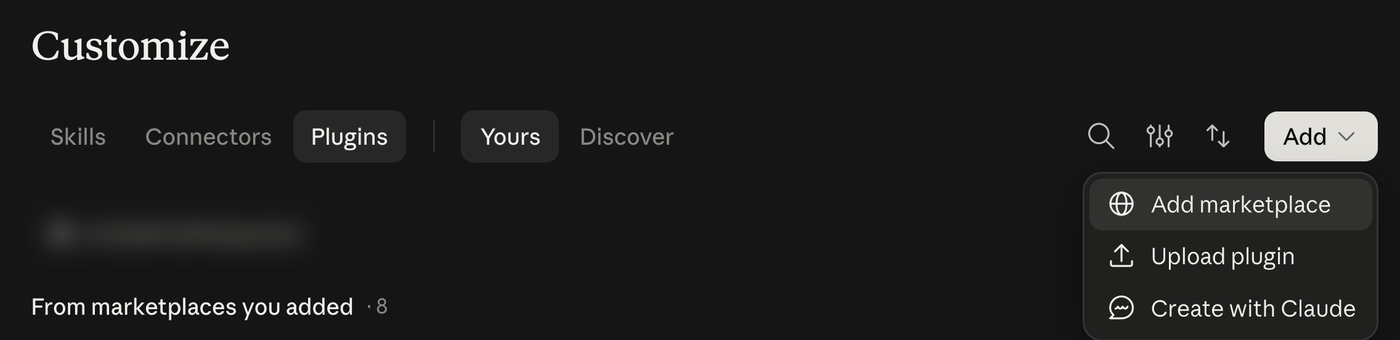
- Open Customize in the sidebar, then the Plugins tab.
- Click Add in the top right corner and choose Add marketplace.
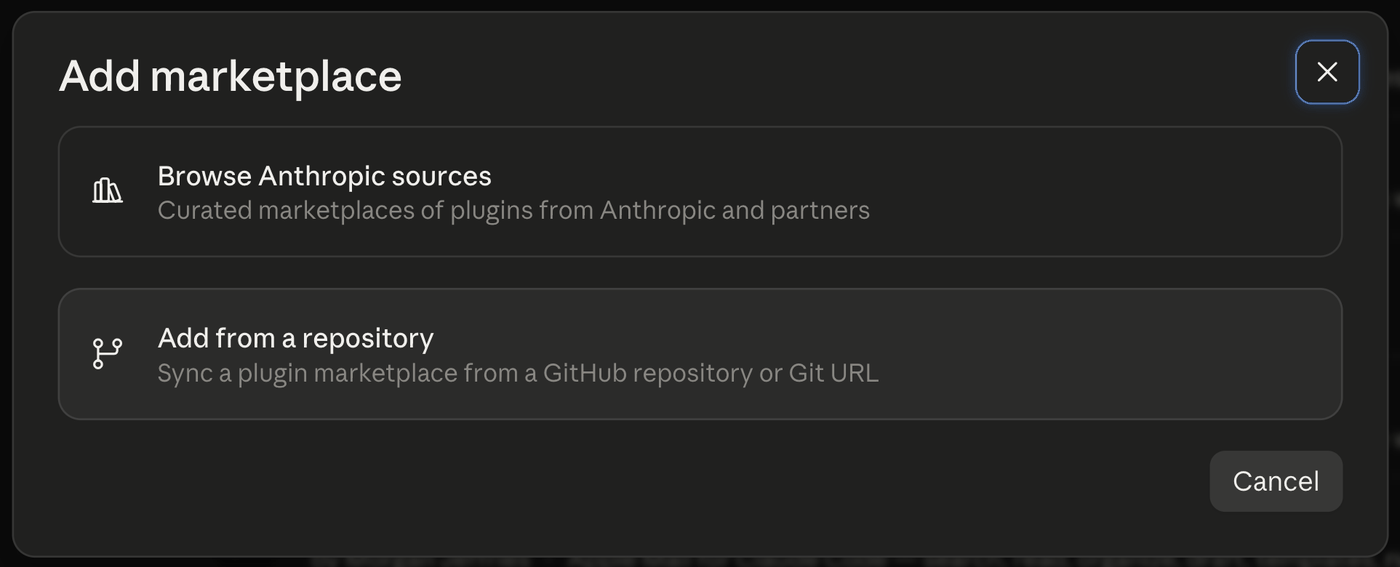
- Choose Add from a repository.
- In URL, enter
QuickS3-com/skilland click Sync.
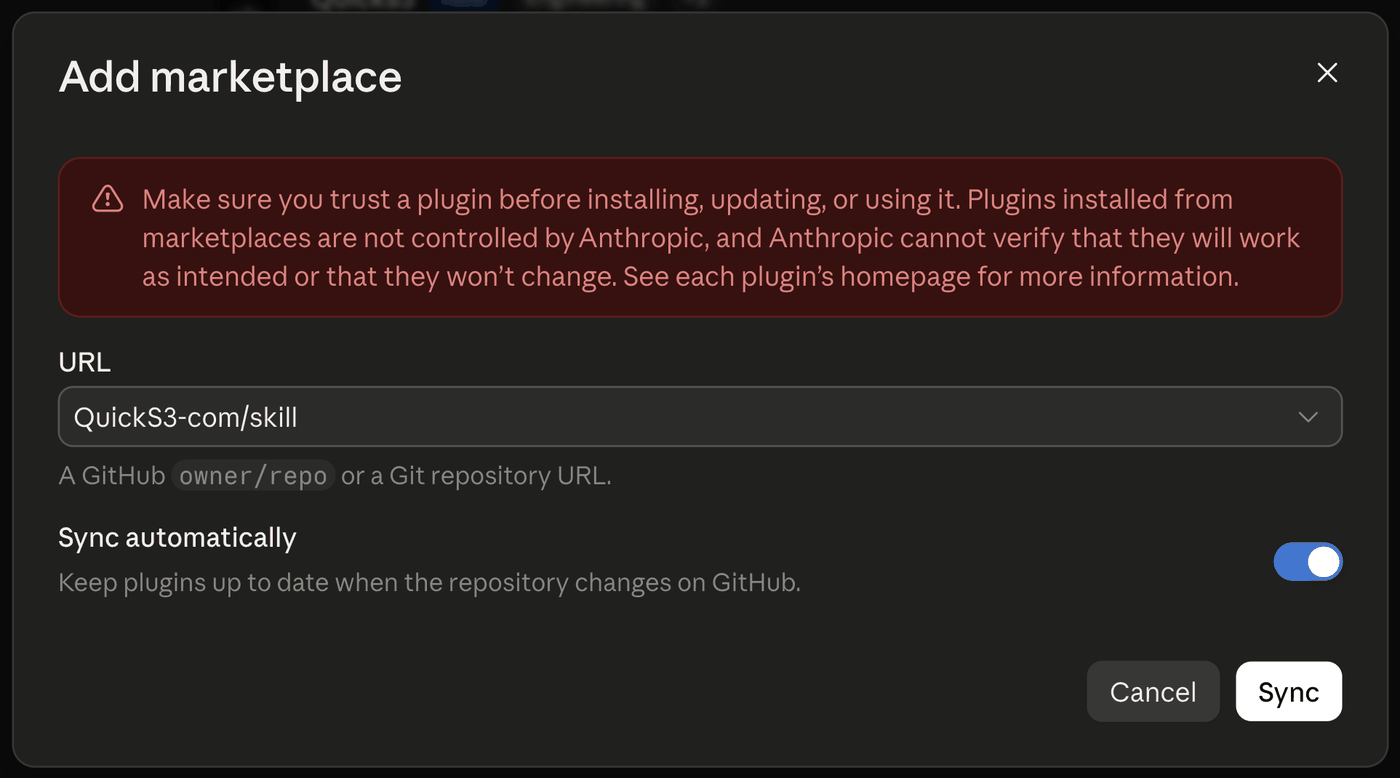
Sync automatically keeps the plugin up to date when we publish changes. It needs the Claude GitHub App to have access to the repository, and Claude will offer a Grant access link. You can also turn it off and update by hand from the plugin page.
Step 2: Add the plugin
Switch to Discover. The Quicks3 plugin now shows up. Click Add.
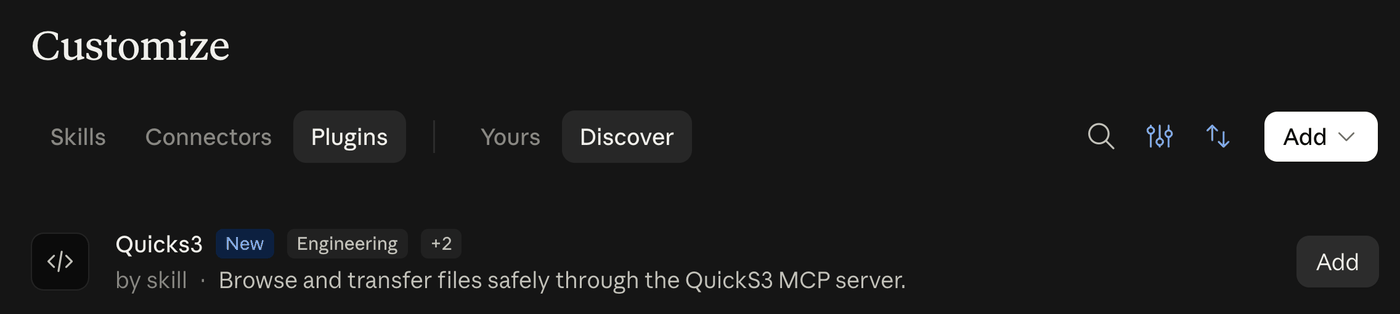
The plugin bundles two things: the quickS3 MCP server at https://quicks3.com/mcp, and a skill that teaches Claude to list folders narrowly, download through single-use links, and upload without overwriting existing files.
Step 3: Connect the quickS3 connector
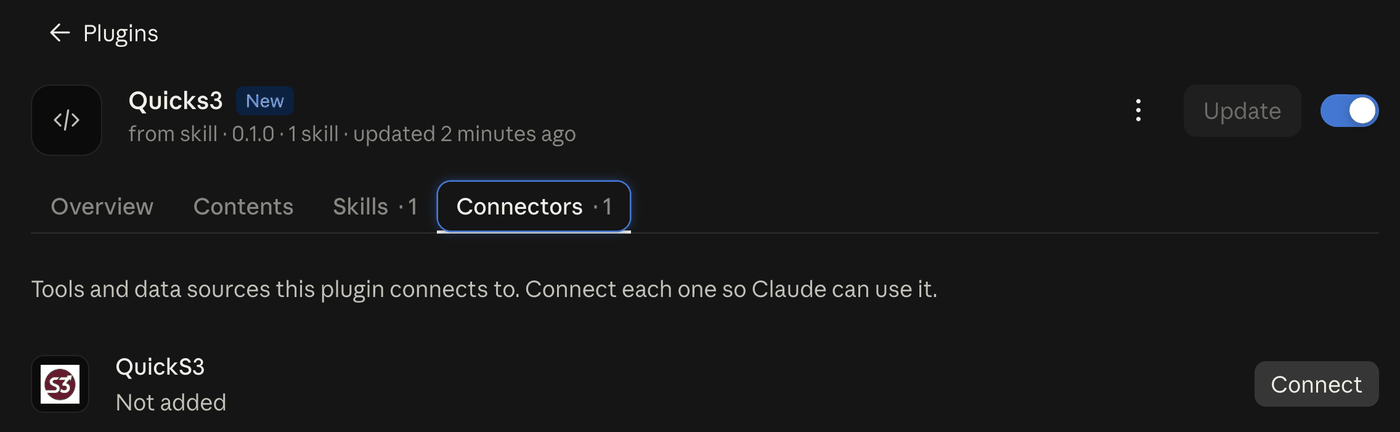
- Open the plugin and go to its Connectors tab. QuickS3 shows as Not added.
- Click Connect.
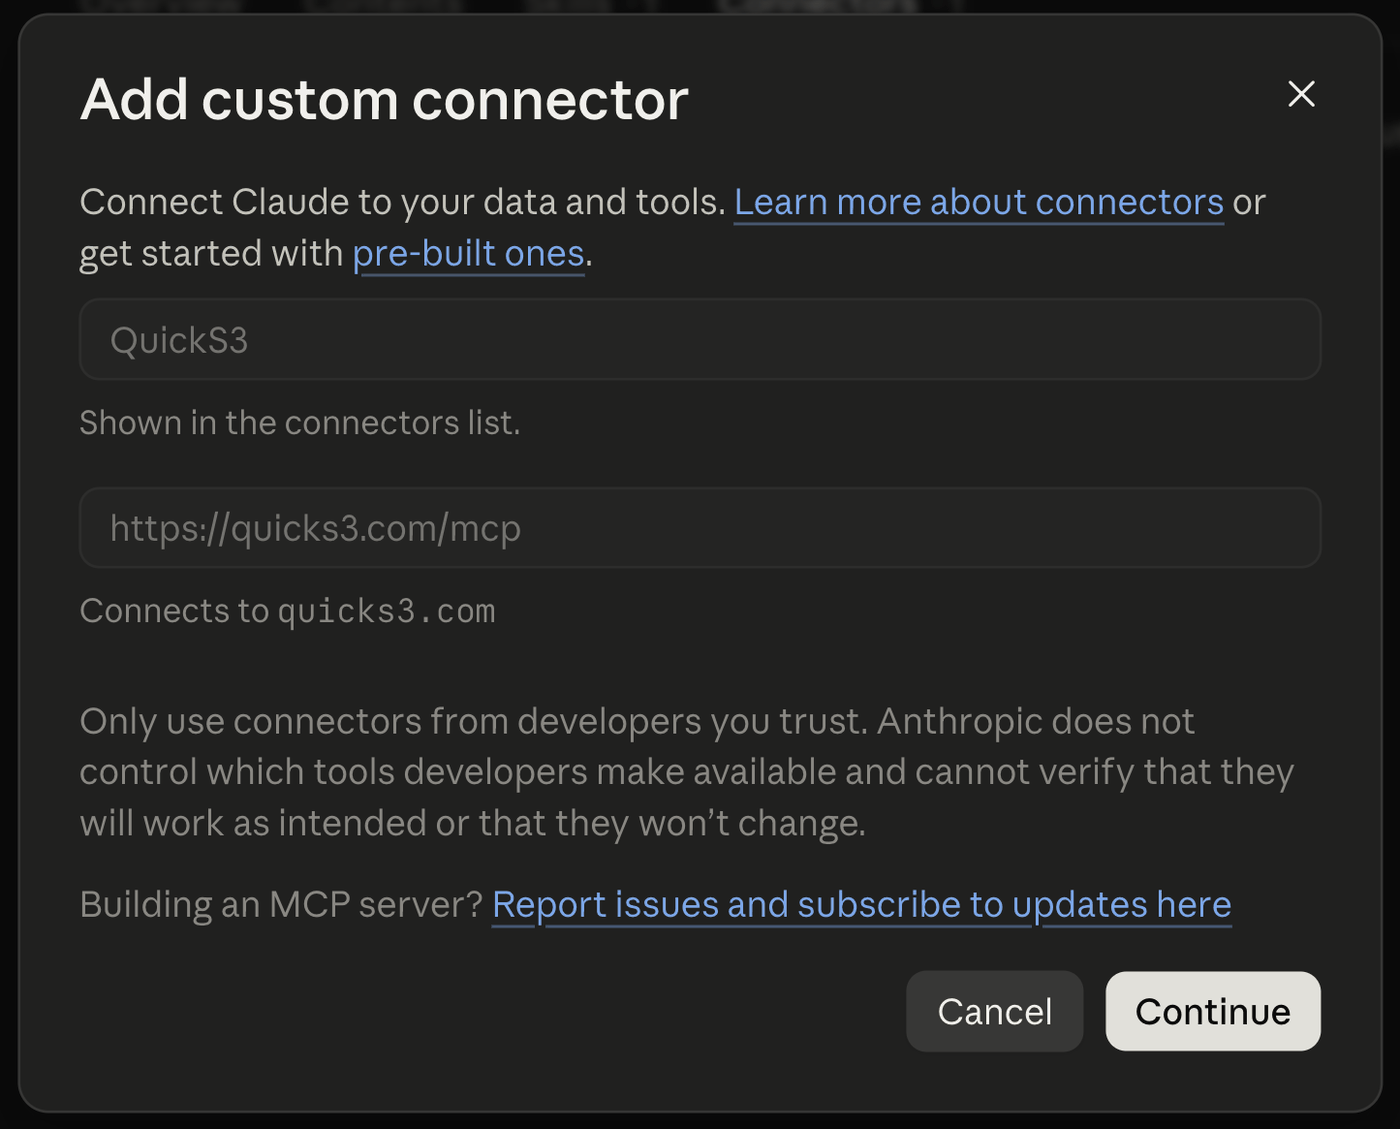
- The Add custom connector dialog comes pre-filled with the name
QuickS3and the URLhttps://quicks3.com/mcp. Click Continue.
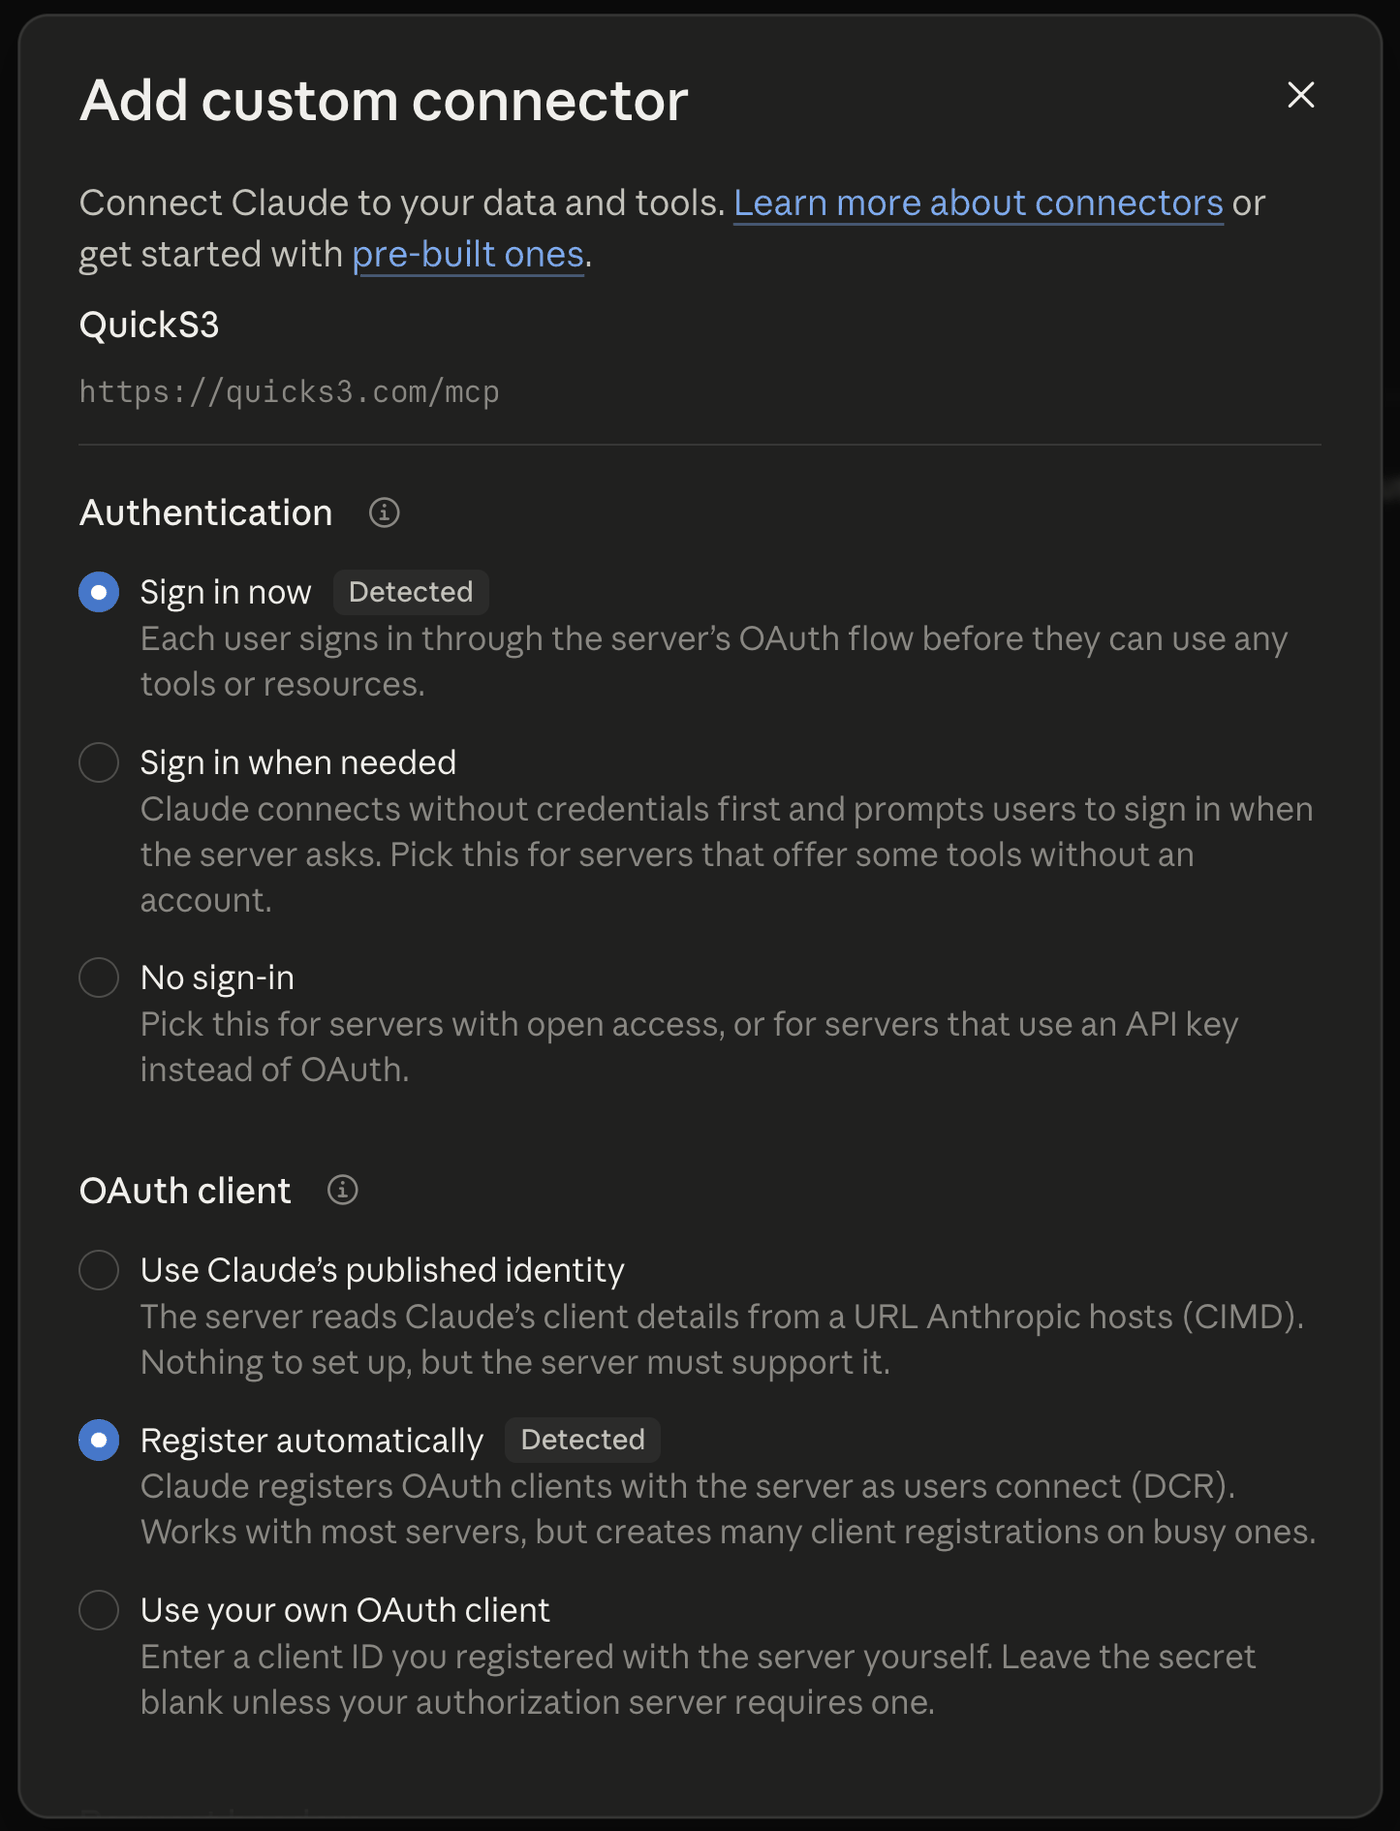
- Claude detects how quickS3 signs you in. Keep the detected options, Sign in now and Register automatically. You don’t need any request headers. Scroll down and click Add.
Step 4: Authorize Claude in quickS3
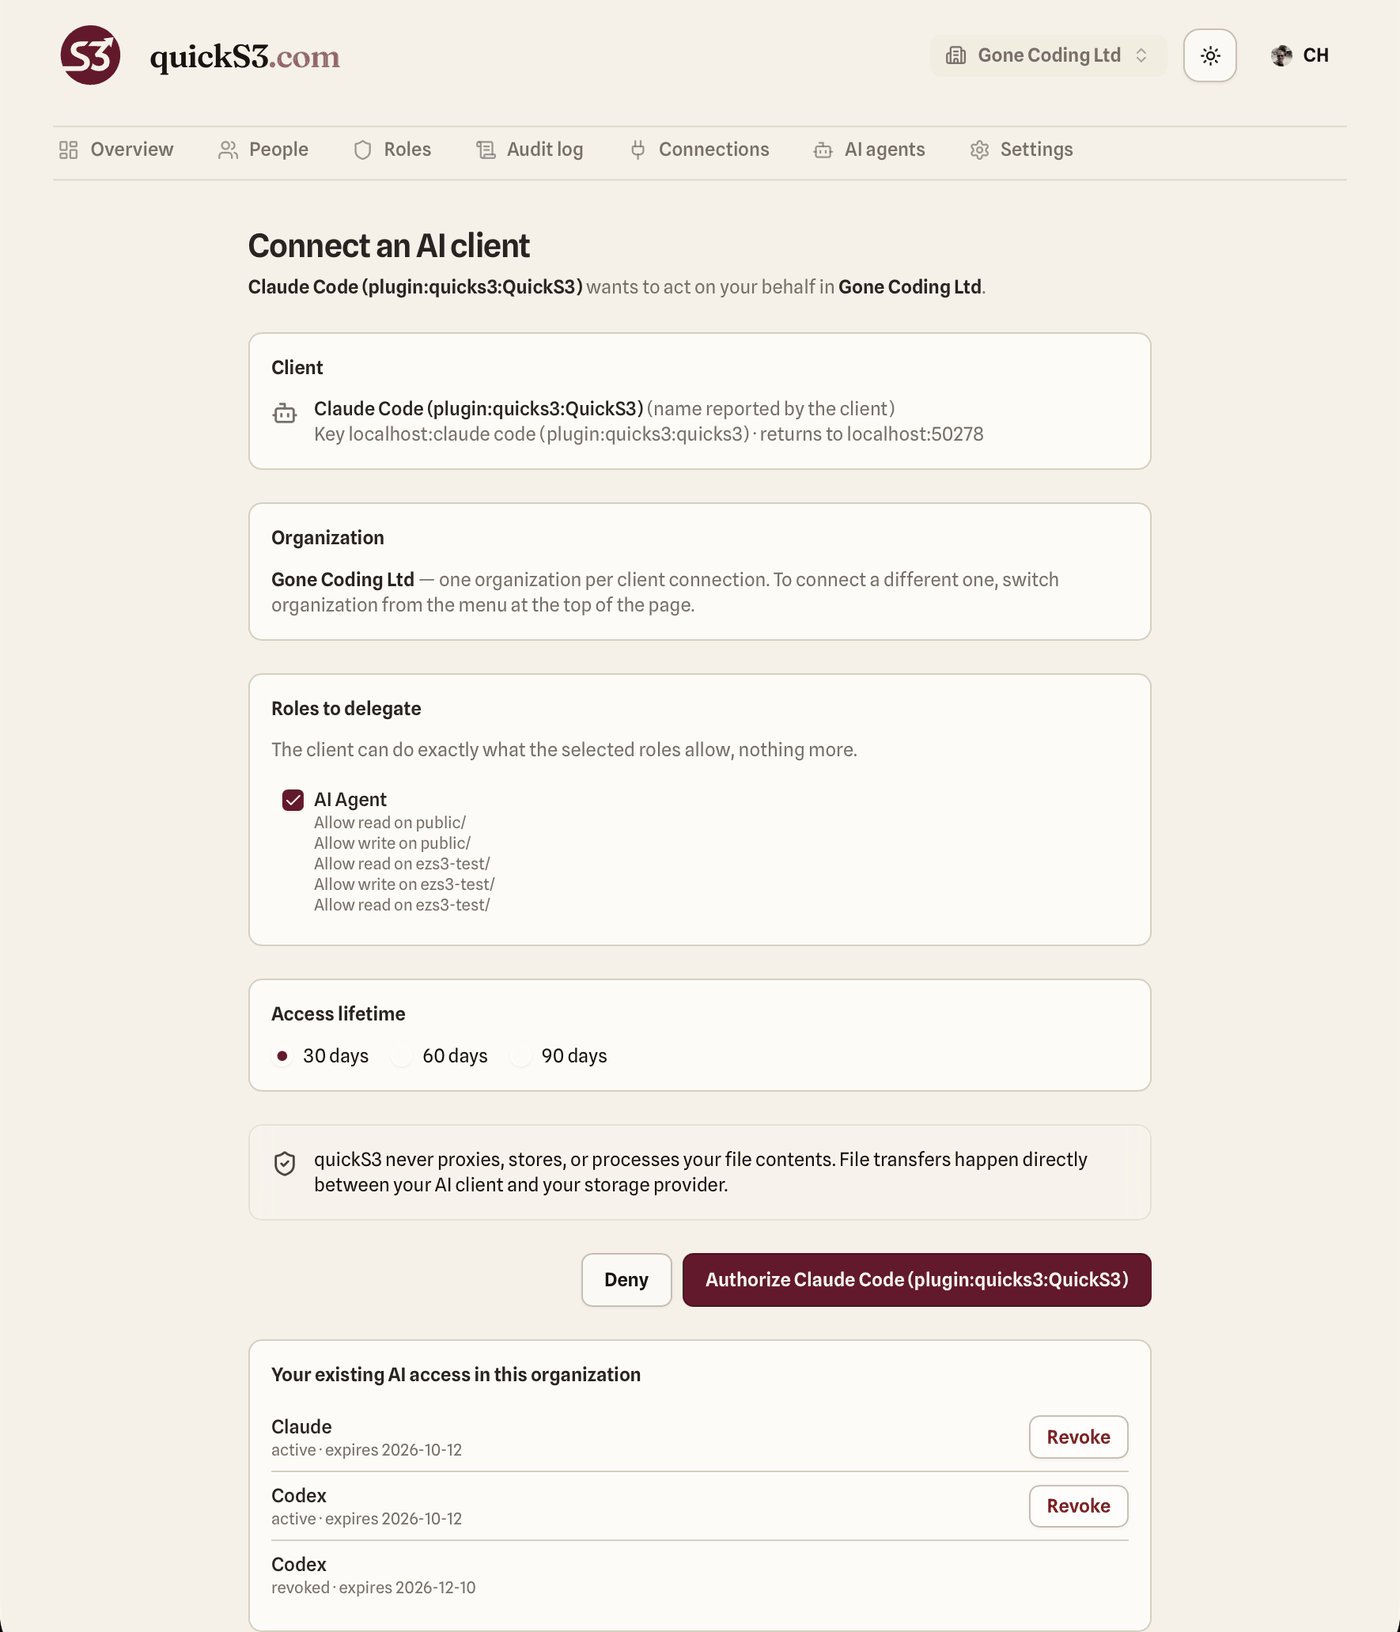
Your browser opens on the quickS3 consent page. Sign in if you need to. The page shows:
- Client: the name Claude reports, and where it returns once you approve.
- Organization: each client connection covers one organization. To connect a different one, switch organization from the menu at the top first.
- Roles to delegate: tick the roles Claude may use. Only your own roles are listed.
- Access lifetime: 30, 60, or 90 days. The grant expires on its own after that.
Pick the role and lifetime, then click Authorize Claude.
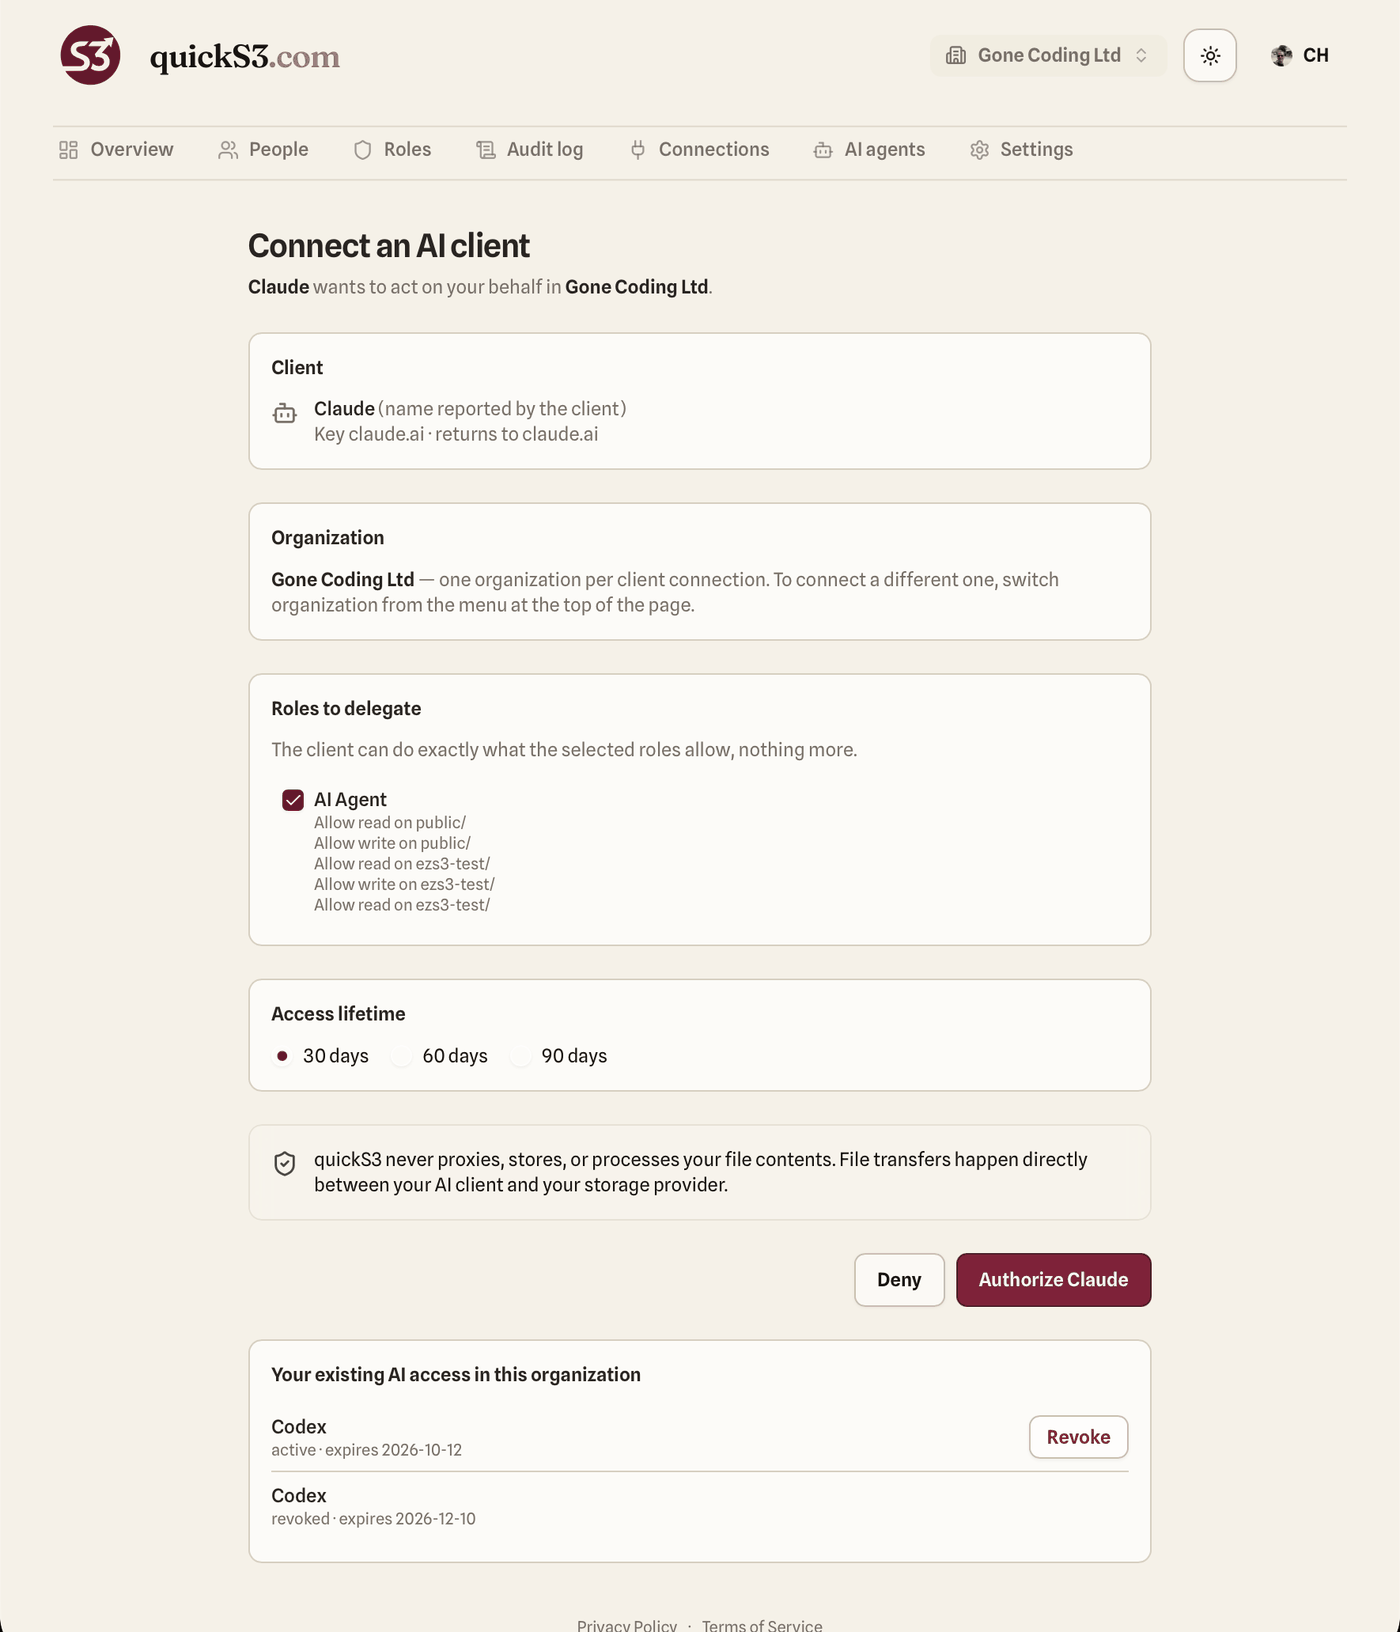
The bottom of the page lists the AI access you’ve already granted in this organization, so you can spot an old grant and revoke it while you’re here.
Part 2: Claude Code in the terminal
Step 1: Install the plugin
In Claude Code, add the marketplace and install the plugin:
/plugin marketplace add QuickS3-com/skill
/plugin install quicks3@quicks3
Or from a shell:
claude plugin marketplace add QuickS3-com/skillclaude plugin install quicks3@quicks3If /mcp already lists plugin:quicks3:QuickS3, the plugin is installed and you can skip to Step 2.
Step 2: Sign in with /mcp
- Run
/mcp. The QuickS3 server shows asplugin:quicks3:QuickS3 · needs authentication. Select it and press Enter.

- Choose Authenticate.

Step 3: Authorize Claude Code in quickS3
The same consent page opens, this time for Claude Code (plugin:quicks3:QuickS3). This grant is separate from the desktop app’s, so you can give Claude Code a different role or a shorter lifetime. Click Authorize.
Try it
Ask Claude for something you’d otherwise do in a storage console:
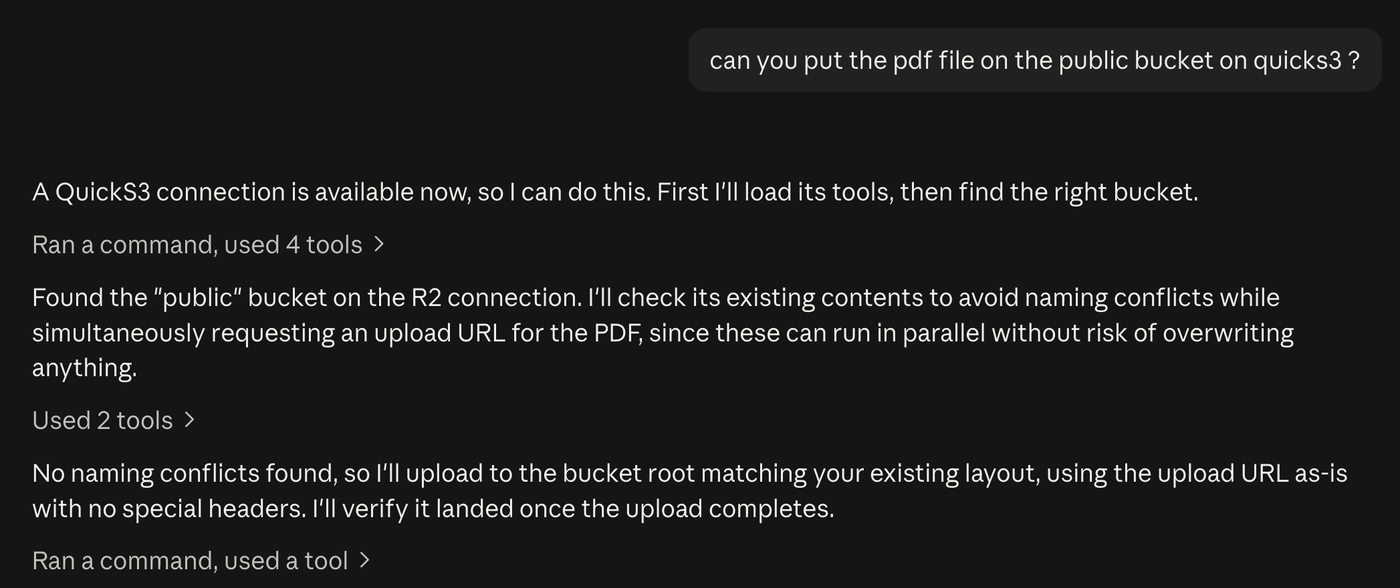
Can you put the PDF file on the public bucket on quickS3?
Claude finds the right bucket, checks for a name clash, asks quickS3 for an upload URL, uploads the file straight to your storage, and checks that the size matches:
Other things worth trying:
- “List the folders I can access in quickS3.”
- “Download the latest export from
reports/and chart it.” - “Upload the build in
dist/to thereleases/folder, but don’t overwrite anything.”
What the agent can do
The quickS3 MCP server exposes six tools:
| Tool | What it does |
|---|---|
list_connections | Lists the storage connections the grant can see |
list_buckets | Lists visible buckets on one connection |
list_objects | Lists one folder level, paginated |
create_download_link | Creates a single-use download link, valid 5 minutes |
create_share_link | Creates a public share link for someone else, valid 5 minutes to 30 days |
create_upload_url | Creates a presigned upload URL, valid 15 minutes, no overwrite by default |
There’s no delete tool, and every call is checked against the roles you delegated, with the same deny-wins rules your teammates get.
Review or revoke access
Every approval is listed on the AI agents tab in quickS3, and at the bottom of the consent page, with its status and expiry date. Click Revoke to cut an agent off right away. Agent actions show up in the audit log separately from your teammates’ activity, and agents don’t count as users on your plan.
Using Codex too? See Connect Codex to your S3 buckets with quickS3. New to quickS3? Sign up and connect your first bucket.
For maintained setup and troubleshooting, use the Claude Code documentation.
Read next

Connect Codex to your S3 buckets with quickS3
Install the quickS3 plugin in Codex, choose which roles it may use, and let your AI agent browse, upload, and download files in your S3 buckets.

Set up an AI Agent role in quickS3
Create a dedicated role for your AI agent, assign it to yourself, and delegate it to Claude Code or Codex. Plus why an owner can't hand over the Owner role.
Backblaze B2 web interface for teams: application keys, CORS, and setup
Give your team a web interface for Backblaze B2 without sharing your account. Create an S3-compatible application key, set CORS, and scope access by folder.